3 Manual
3.1 Output
In this interface, we can select a output,click【on】the light will be green, it means there is a output.

When IO boards are 2-5 IO,click next can switch the IO board to check.
3.2 Tools calibration

After setting the tool coordinate,the robot control point comes to the tool end,in this way we can adjust the tool posture
in a more accurate way.
Two Point:user only can use “two point”when user knows the deviation of the tool.
process:
Step 1:when robot is in home position, click【T set】to set the value of the coordinate.
Step 2:input the deviation value of each axis.
Step 3:click confirm button when finish the settings.

3.3 Custom button
In this interface we can check and us the custom button.

Way for using this button:press this button that has already edited well,robot arm will run the program in it.
3.4 Table calibration
The worktable can be calibrated under this interface:

PO:Starting point position.
PX:Position on the X axis.
PY:Position on the y-axis.
process of Establish workbench :
1. Enter the coordinate system and click the [New] button to create a new coordinate system.
2. Set PO, PX, PY points on the workbench.
3. Click the “OK modify” button to convert coordinates.
Note:The PO PX and PO PX lines intersect at 90° and the right hand four fingers are held from the X-axis Y-axis. The thumb should face up.
3.5 Operating instructions

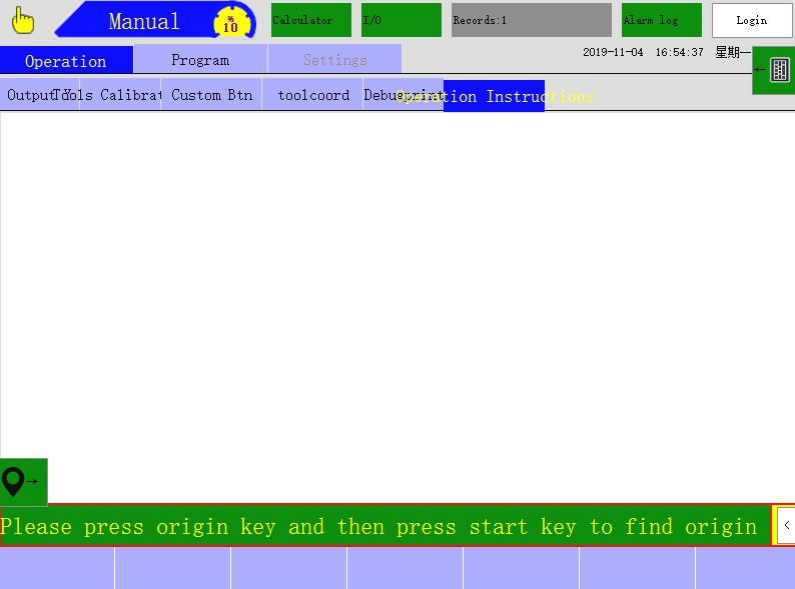
Insert the U disk scan manual and the installation manual in the "parameter"-"picture", where the instructions can be displayed.

